The Store Catalogue
Data Structure
The catalogue is built on a number of WebDNA databases.
The structure of the data is illustrated below
Catalogue
Departments
Categories
Sub-Categories
Items
Catalogue Tree
The catalogue tree could be illustrated as below:
Catalogue Tree
Item Structure
Items are complex structures, each is built on a number of WebDNA databases.
An item is a child of a Sub-Category, which is a child of a Category, which is a child of a Department.
An item is also a member of a Brand.
Images are attached to items via itemimages.db
Items can have up to three variants. Variants are managed via the vartypes.db, variants are things such as color, size etc. Each variant may have an unlimited number of options. Options are stored in varoptions.db
Items can also have custom fields. Custom fields are global to all items, an example of a custom field may be 'Material', 'Bulk Item' etc. Custom fields are stored in the customfieldsitems.db.
Building the catalogue
Create departments
Structure your store to divide your products into departments
Navigate to admin > catalogue > departments
- Click 'ADD NEW DEPARTMENT'
- Complete *Required fields
- Departments can be timed to be active using the start date & end date.
- Departments info & hero image create a landing page for your department.
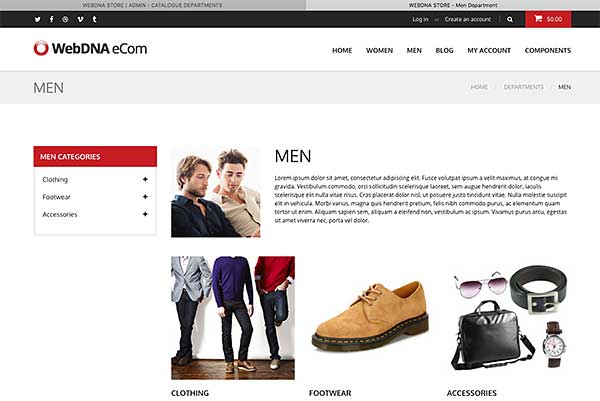
Completed deparment
Create categories
Categories are the first division of your departments.
Navigate to admin > catalogue > categories
- Click 'ADD NEW CATEGORY'
- Complete *Required fields
- You can key in the category url or it will automatically be created using the 'category name' when you save.
- Categories can be timed to be active using the start date & end date.
- Category info & hero image create a landing page for your category.
- Once the category has saved, you are returned to the list of categories. At this stage you can attach it to a department by selecting it in the Parent column.
- Set the sort order for your category, use the Featured switch to make the category display in a feature section of your website, select active is you are ready to activate the category.
Selecting the Parent
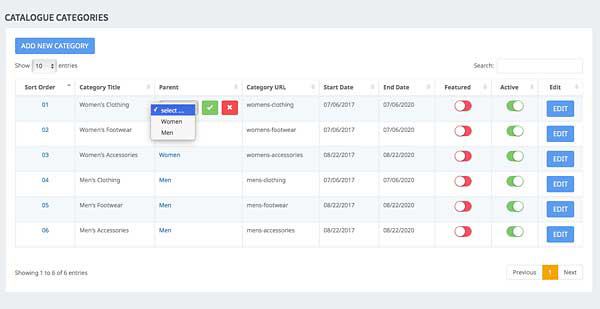
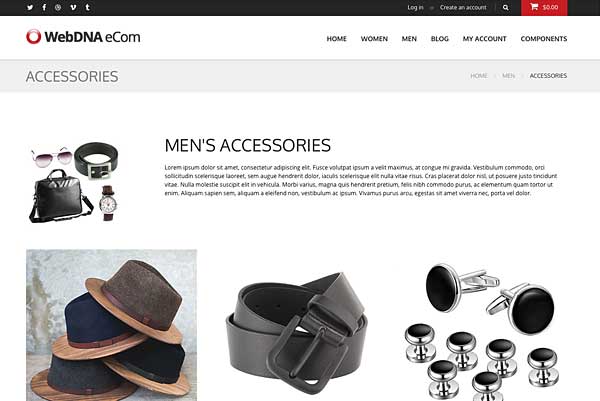
Completed category
Create sub-categories
Categories are the second division of your departments and the first division of your categories.
Navigate to admin > catalogue > sub-categories
- Click 'ADD NEW SUB-CATEGORY'
- Complete *Required fields
- This is very similar to 'Add A Category'
- You can key in the sub-category url or it will automatically be created using the 'sub-category name' when you save.
- Sub-Categories can be timed to be active using the start date & end date.
- Sub-Category info & hero image create a landing page for your sub-category.
- Once the sub-category has saved, you are returned to the list of sub-categories. At this stage you can attach it to a category by selecting it in the Parent column.
- Set the sort order for your sub-category, use the Featured switch to make the sub-category display in the FEATURED SUB-CATEGORY section on the home page of your website, select active is you are ready to activate the sub-category.
Create brands
Display brands that your store carries, items are attached to brands so that they can be displayed as a group.
Navigate to admin > catalogue > brands
- Click 'ADD NEW BRAND'
- Complete *Required fields
- This is very similar to 'Add A Category'
- You can key in the brand url or it will automatically be created using the 'brand name' when you save.
- Brands can be timed to be active using the start date & end date.
- Brand info & hero image create a landing page for your brand.
- Once the brand has saved, you are returned to the list of brands.
- Set the sort order for your brand, select active is you are ready to activate the brand.
Create variants
You can create as many variants and options for each variant as you require.
Each product that you create can only have a maximum of three variants. You can select which variant and corresponding option when you create your item.
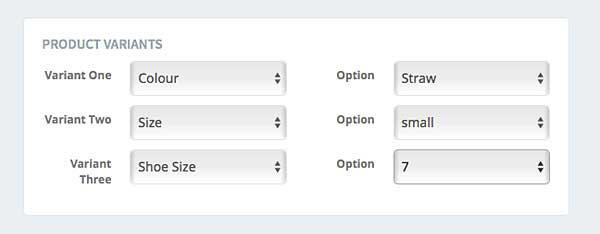
Variants example in an item creation window
Navigate to admin > items > product variants
- Click 'ADD NEW VARIANT'
- Complete *Required fields
- Key in the variant name.
- Once the variant has saved, you are returned to the list of variants.
- Set the sort order for your variant
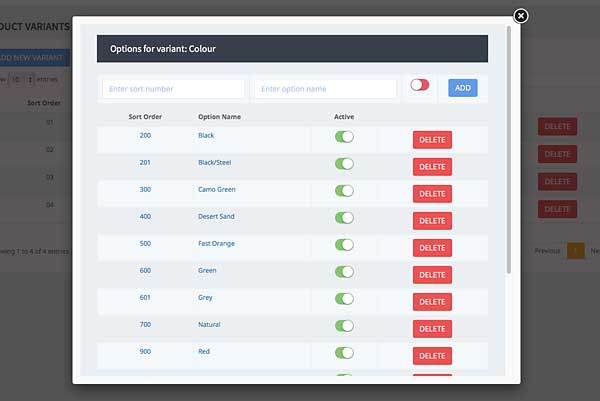
- At this stage you then add Options to the variant.
- Click the blue VARIANTS button.
- Enter the option name and sort order. Click ADD.
- Activate as required.
- Repeat this process until you have added as many options to the variant that you require.
Variant Options Modal
Create custom fileds
Custom fields are used to add information to an item that is not covered by WebDNA eCom's system.
Navigate to admin > items > product custom fields
- Click 'ADD NEW CUSTOM FIELD'
- Complete *Required fields
- Key in the custom field name.
- Once the custom field has saved, you are returned to the list of custom fields.
- Set the sort order for your custom field.
- Activate as required.
- Repeat this process until you have added as many custom fields that you require.
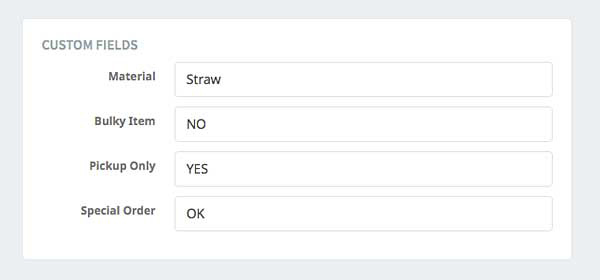
Custom Fields example on an item creation page
Adding Items
To start adding items:
Navigate to admin > items > add an item
A short cut to adding similar items is to use the Items list, and by clicking on the orange DUPLICATE button, you will duplicate the original item.
Status, Type & Tax
Select variables that apply to your item
- Online = Visible
- Offline = Not visible
- Draft = Not visible, your item will remain in draft mode while you are creating it.
- Physical, Downloadable, Service - at present these have no function
- Taxable - set to Yes or No as required. The tax rate is set in
admin > site prefs
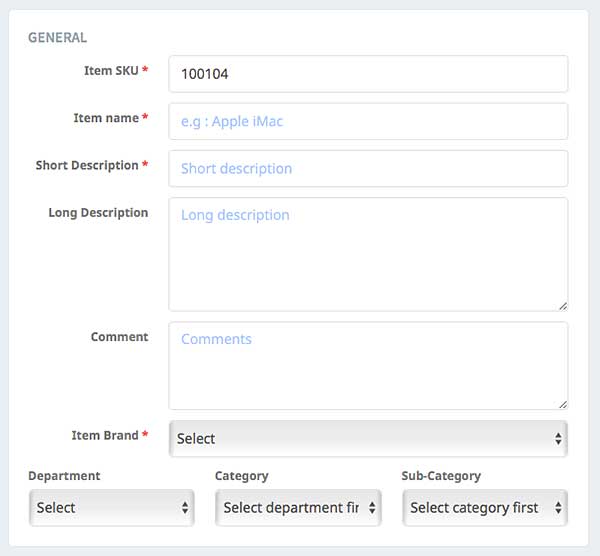
General
These are general areas of information that are usually display on web stores
- Item SKU - depending on your preference for SITE-DYNAMICSKU in
admin > site prefsthis will auto-generate, or you can add your own SKU, or override the auto-generated one. - Item name
- Short description
- Long description - you may wish to display this on your product page
- Comment - this may be for internal use or you may wish to display on your product page
- Item Brand - select from the drop down list that you created in Create brands.
- Department - select from the drop down list that you created in Create departments.
- Category - select from the drop down list that you created in Create categories. Category dropdown is created by an AJAX script that compiles all the categories available to the department that you select.
- Sub-Category - select from the drop down list that you created in Create sub-categories. Sub-Category dropdown is created by an AJAX script that compiles all the sub-categories available to the category that you select.
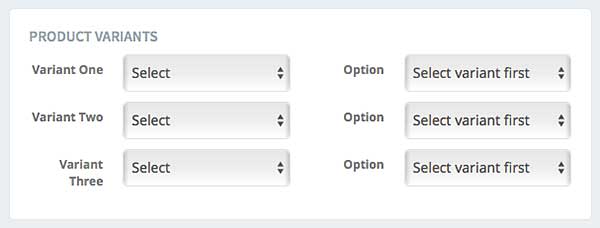
Product Variants
Each item can have a maximum of three (3) variants, these are the variants that you created in Create variants
- Variant One - Three - select as required
- Option - select from the drop down list, the option dropdown is created by an AJAX script that compiles all the options available to the variant that you select.
Meta Data
This is where you add all the relevant information to create a SEO friendly page
- Meta Tilte is reasonably important.
- Meta Description is also important.
Custom Fields
These are the custom fields that you created in Create custom fields.
Custom fields can be added to your page when you customise your website, or you may just want to use them for administrative purposes.
This area may be blank if you did not create any custom fields.
Pricing
You can have two types of pricing in your site. Regular selling price and a price when your item is on sale.
- Normal price - the price at which you normally sell the item.
- Sale price - the price when the item is discounted.
- It is important that you have set the STORE-LineItemChangePassword in
admin > site prefsSee here for more details. - The sale price is displayed if the visitor's date range is between the start & end SALE DATE.
Sale Dates
Select the date that you want this product to display the SALE PRICE
Tip - use the jQuery date selectors so that you ensure that the date format being stored is correct.

Product Dimensions
Enter the dimensions of your product.
You may want to display these dimensions on your website, or you may need them for shipping calculations.
- Set the SITE-UNITS in
admin > site prefsto IMPERIAL or METRIC depending on your requirements. See here for more details.
Stock
Keep a tally on your stock levels.
Stock level for each item is depleted each time a customer completes a sale.
Add images to your items
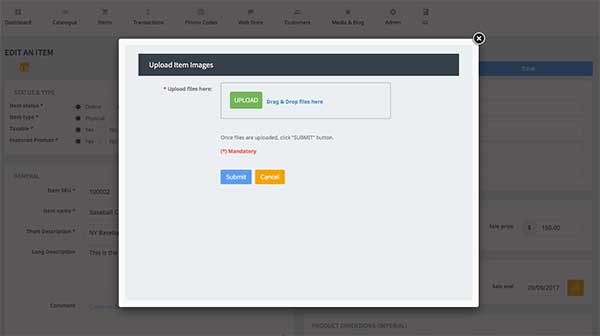
Once you have done an itial save for your item, you will see an ORANGE ADD IMAGES button at the top left of the page.
Click the ADD IMAGES button to open the images modal.
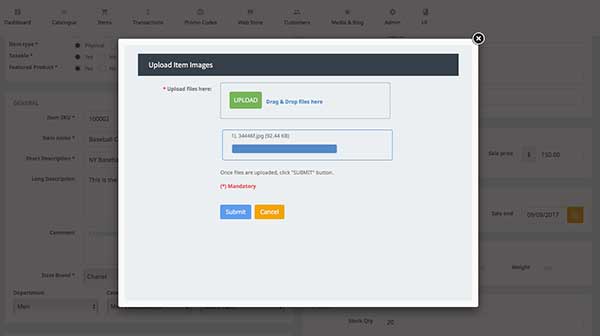
Simply drag and drop your images to the upload area. WebDNA eCom scripting will upload your images, resize to 3 different sizes and store them on the webserver. The image details are stored against the item
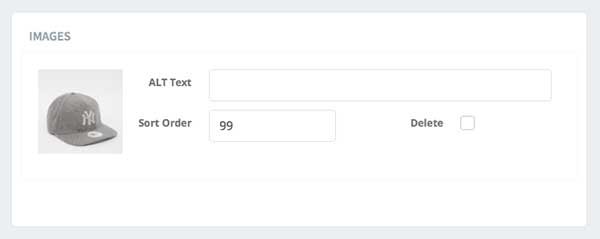
Once you click submit after the files have been uploaded, you will be given the opportunity to all ALT text and manage the sort order of your images.
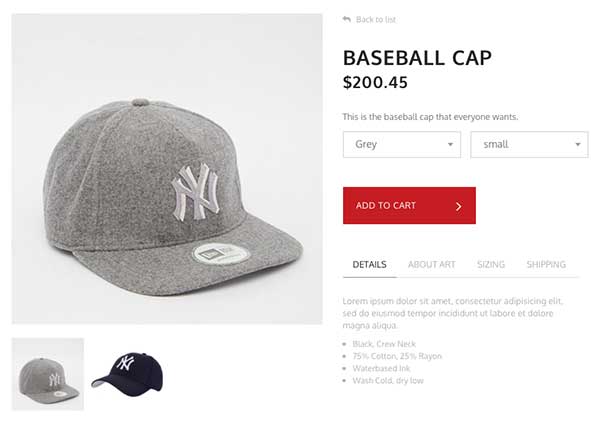
Single added image
Open the ADD IMAGES modal
After an image has been uploaded - upload many at once
Multiple images in an item
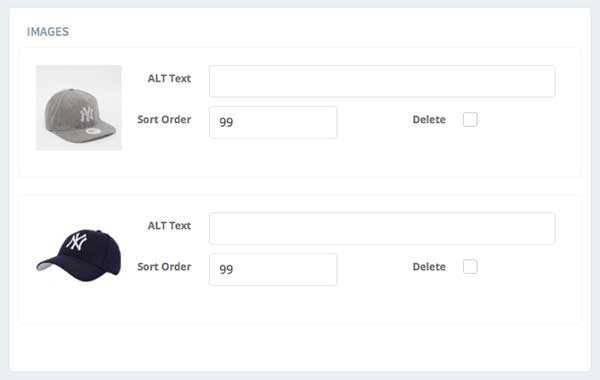
Add ALT description and sort order
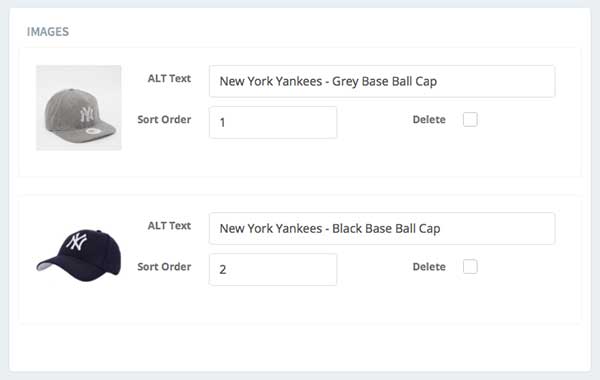
Multiple images in an item example